
How To Setup Azure Agent Pool In Azure DevOps
Posted By :Kapil Soni |5th August 2022
1) First Create a Project name: abc
2) Create a Personal access token for the agent pool
Go to user setting
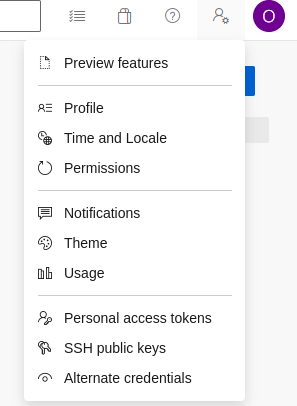
3) click on personal access tokens.
4) Create a new personal access token
5) give name, organization, and expiration date then create
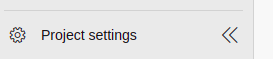
6) go to the project setting
7) click on agent pool.

8) then click on add pool.
9) select pool type (self-hosted)

10) click on the agent pool name where u created.
11) click on the new agent
12 follow these instructions on the remote server
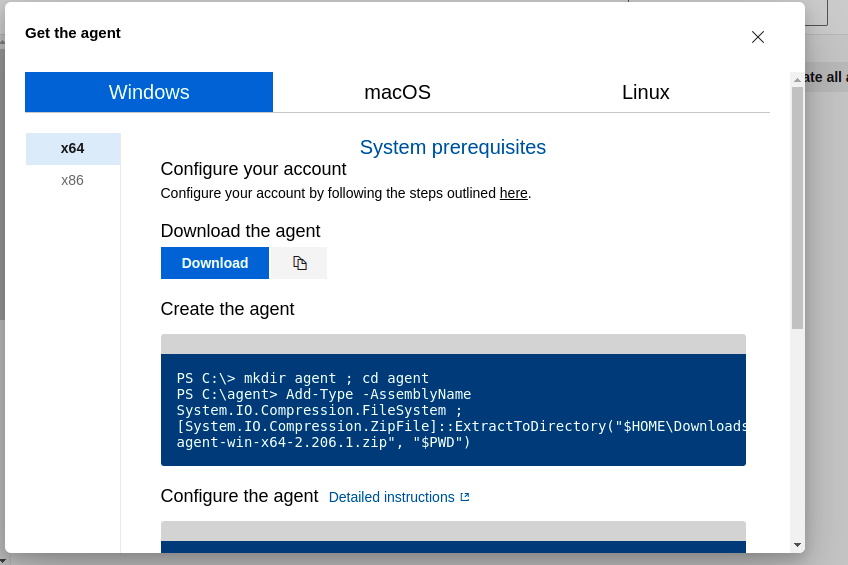
13) After Following Instructions The agent is set up on your virtual machine and the tool is run with the help of the service
Some important points when u install the agent in a virtual VM :
1) In URL put the URL like this: https://dev.azure.com/abc
2) put a personal access token
Ready to innovate ? Let's get in touch

Follow us


We are ISO 9001:2015 Certified
Resources

Connect with us

Follow us
![]()
![]()
![]()
![]()
![]()
![]()
![]()